If you ever choose to go to AWS re:Invent, I have two pieces of advice:
If you want to enjoy the conference in peace-of-mind, Item #2 is very important. There is just too much going on — too many great presentations, too many fascinating hands-on labs. Some of them are going to conflict, and despite the magic of the Cloud, you still can’t be in two places at once.
This was my situation at the end of November. I stood in line, waiting to get into a workshop where I would learn to build a device to access the Alexa Voice Service (AVS) using a Raspberry Pi. This being my first re:Invent, I hadn’t realized the importance of Item #1, above — I had not jumped on registration as soon as sessions were available. Consequently, I had been waitlisted for several presentations I really wanted to attend. This one was at the top of my list. I absolutely wanted to know how to make an “Echo” for myself.
While Amazon does reserve a certain number of seats for walkups, most seats go to pre-registered attendees. I had lucked-out the previous session and gotten into an AVS programming workshop by waiting in the walkup line. This time, however, I wasn’t so fortunate. The walkup line was long, I was further back, and the room filled to capacity before I got in.
This same session was on the schedule later in the week. I would have a couple more opportunities to chance the walkup line. Ultimately, however, I decided to pass. This was because I learned that the same subject matter (configuring AVS on a Raspberry Pi) was detailed online in both a YouTube video posted on the Raspberry Pi Website and a Github project published and maintained by Amazon.
There was a ton of great content vying for my attention at AWS. In the end, I couldn’t justify skipping one of those opportunities to possibly get into a session where I would learn how to do something I could teach myself at home, using online resources.
Of course, the trick to making a call like this is having the discipline to actually follow-through when you get home. I decided to set a deadline of Christmas — my gift to myself would be a homemade Echo, including everything I would learn about AVS while building it.
For anyone interested in doing the same, here’s how it went.
The Pieces
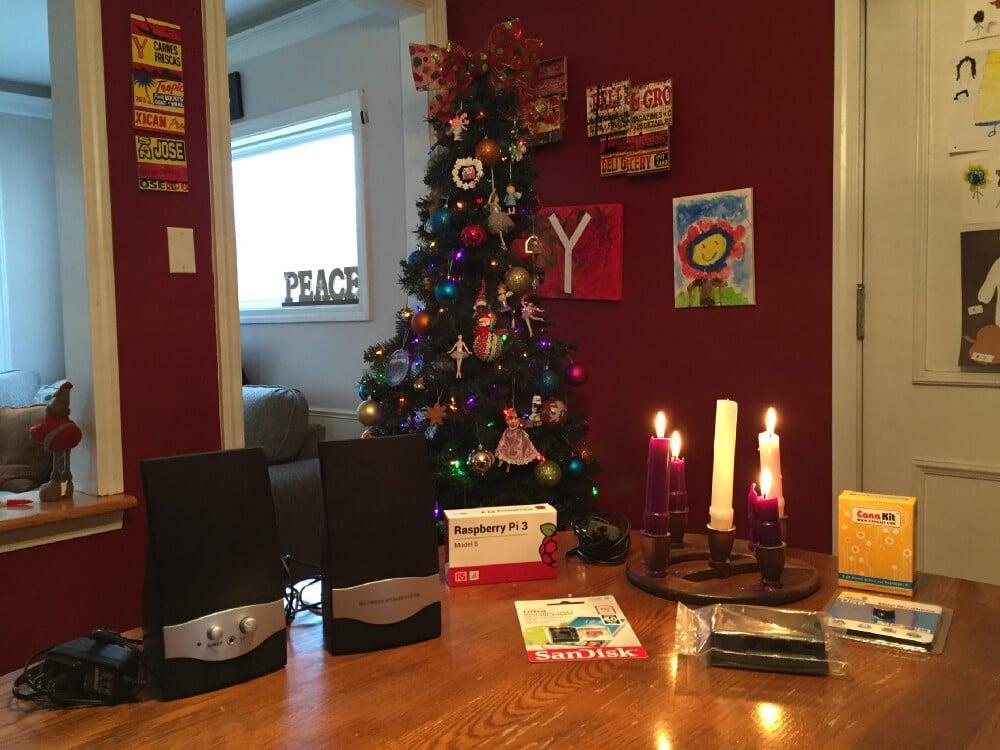
The Raspberry Pi section of the Github project linked above begins with a list of hardware you will need to complete the device. While I already owned several RPis, I did not have either the Pi 3 or the Pi 2 Model B required for this process. I decided to go with the Pi 3 because it features built-in WiFi, and I wanted the option to use this device in a variety of locations — perhaps not always conveniently situated near a network jack.
To get your Raspberry Pi up-and-running, you can purchase a variety of mini-SD cards with the NOOBS (New Out Of Box Software) setup program pre-installed. NOOBs will assist you in configuring the operating system on the Pi.
The Raspberry Pi will run a number of operating systems, including (among others) Windows IOT Core and various flavors of Linux. When you create your AVS device, however, you will want to make sure your RPi is running Raspbian Jessie, the latest version of the Linux distribution officially supported by the Raspberry Pi Foundation. If you happen to receive a pre-loaded mini-SD card with an older version of NOOBs, it may not be current enough to setup Jessie on your device. In this case, you will need to download the latest version of NOOBS. I wanted to polish my skills setting up an RPi from scratch, so I decided to get a blank 16 GB SD card.
I had an old pair of speakers laying around, so I decided to repurpose those instead of dropping $15 on a new speaker just for this project.
I like my devices to look finished, so I added a case for the RPi, as well.
The Github list includes links to Amazon (of course) where you can conveniently order everything you need. I loaded up a cart and ordered a batch of parts for delivery a couple days before Christmas. Everything had arrived by Friday, which meant Saturday morning (Christmas Eve) was Homemade Echo Day!
The Project
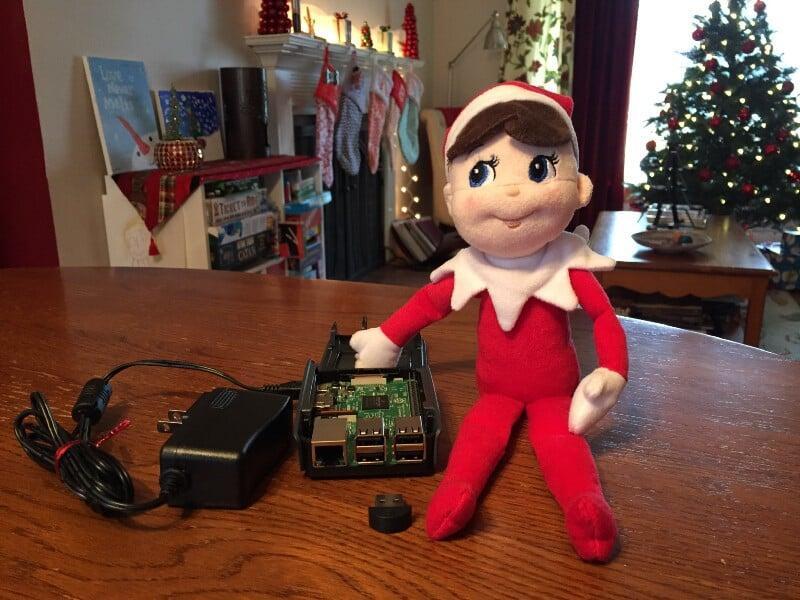
The first step, once you have collected the various pieces of your device, is to assemble your Raspberry Pi and get it working with Raspbian Jessie.
For me, everything went together pretty smoothly. BTW-the Official Raspberry Pi 3 Case, is awesome, with a solid feel and a brilliant break-apart, easy-to-re-assemble design.
The only hiccup I had here was caused by my lack of familiarity with the Raspberry Pi 3 and Raspbian Jessie. My WiFi connectivity didn’t work immediately following installation, even though NOOBs had me identify the SSID and enter the password. I immediately started troubleshooting by going to the Web and finding forum posts that pointed me to various configuration files. After spending about an hour on this, however, I discovered that these were out-of-date posts referring to a previous version of Raspbian. It appears Raspbian Jessie has moved things around a bit in the OS, and has also included a WiFi icon in the upper-right-hand corner of the Pixel GUI. Despite my preference for doing everything in Linux from the command line, I clicked a couple of times, re-entered my WiFi password, and everything was good-to-go.
Configuring your functional Raspberry Pi as an AVS device is very straightforward, and consists of the following:
Developer Account:
To complete the Github project, you will need an account on the Amazon Developer Portal. If you don’t already have one, it’s free, and takes about five minutes to set up.
Security Profile:
You will then need to create a device and security profile. Make note of your ProductID, ClientID and ClientSecret. Don’t forget to double-check your entries for “Allowed Origins” and “Allowed Return URLs” (if you want your AVS device to function properly!) Also — if you want to stream Amazon music on your new device, you will need to complete a few additional fields.
Application:
Everything runs off the sample app in the Github project, so you will need to clone it locally. This requires two command line entries and a short wait.
Install Script:
Modify the install script by updating the ProductID, ClientID and ClientSecret with the values you got when you completed your device and security profile, above.
Run the installation!:
You will need to respond to a few questions at the beginning. The installation itself takes about a half-hour, which may be the longest single part of the whole process (if you don’t, like I did, waste an hour troubleshooting a non-problem with your WiFi).
Run Commands:
You will run three commands, executing each in a separate terminal window on the RPi desktop:
Authorization Web Service: Authorizes the modified sample app with AVS.
Application: Start the modified sample app so it can communicate with AVS. There are a number of steps to this (outlined in the Github project,) including logging into your AWS developer account from a Webpage. I got tripped-up here temporarily, because I had entered my Return URL incorrectly (see above). I had typed it as an http:\\ address and it needs to be an https:\\ address. So be careful! ?
Wake Word: For your device to act like a real Echo (meaning you can talk to it hands-free) it will need to respond to a “wake word”. The Github project provides a couple of wake work engines from third-party providers: TrulyHandsFree from Sensory and Snowboy from KITT .AI. Pick one and enter the appropriate command in the last terminal window. I used the Sensory engine and didn’t have any issues.
Talk!:
That’s it. Now you can talk to your homemade Echo like you would any actual Echo device you might buy from Amazon. I enabled Amazon Music (see above), so shortly our family room was filled with the sweet melodies of Nat King Cole’s Christmas album.

The Purpose
So what’s the point of this exercise?
It’s certainly not to save money. The components of my homemade Echo cost me over $65.00, and if I hadn’t reused my existing speakers it would have been closer to $80.00. As I write this, the Echo Dot is selling on Amazon for $50.00, and before Christmas my wife and I ordered one for our daughter for $40.00.
You’re also not going to build any sort of market-ready product by using the Github project. Yes, I can talk to my homemade device hands-free, but the quality of the $5.00 USB microphone is a long way from the far-field voice recognition built into the Echo. This is a fun proof-of-concept, but it’s not (and was never intended to be) ready for prime time.
Finally, you’re not going to learn anything about AVS programming from this project. It’s basically a “cookbook” exercise — downloading, modifying, and running the Github sample app.
So why do it? I assume Amazon created the Raspberry Pi AVS project to help developers understand how devices hook into the AWS ecosystem to leverage the Alexa Voice Service itself. What you’re really learning here is how to setup a security profile on AVS. This lets you see first-hand how the “Device Type ID”, ClientID, ClientSecret, “Allowed Origin”, and “Allowed Return URLs” work together to authenticate the device — allowing it to access the service. This is of course a prerequisite for building and running code that utilizes AVS, which is beyond the scope of this project.
For its limited objective, I found Amazon’s approach here to be an innovative and successful way to teach an important skill. I suppose they could have accomplished the same thing by putting it into a white paper — but who would have stood in line for that?